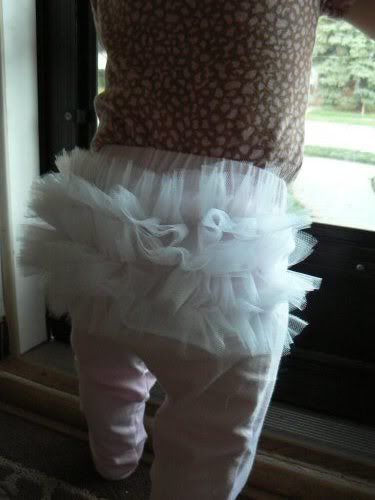
 My little Stinkerbell is turning 1 in less than a month! I can't believe how fast it's gone by. I've been pretty sad about her impending 1st birthday since she turned 6 months, but I'm finally coming around. She'll be walking soon, so we can go outside more without worrying as much about the things she'll put in her mouth or the mud puddles she'll crawl through. She'll have all her 1st year molars and canines soon, which hopefully means less cranky baby and more sleep! Maybe she'll even lose her obsession with the toilet soon lol. But best of all, I get to plan a super cute 1st birthday party :D
I only had to make 7 invitations, so I decided on handmade ones! Since Sam loves kitties, I figured a kitty themed party was perfect for her. I had a teeny tiny cardstock kitty in my stash, so I hand drew a bigger version for her cards and crown! I should have glued the polka dot paper on a piece of cardstock before tracing and cutting the kitties so you couldn't see the ribbon through the paper, but oh well. I still think they're adorable! I also splurged on a giant hole punch for the circle behind the number 1. I'm planning on making cupcake toppers for the party with it, too.
 There's lots of birthday crown tutorials out there, but this one is by far my favorite! I used it to make a mermaid crown for Elise, and now Sam's birthday crown :D I LOVE how it turned out. It's just a little different shade of hot pink than her shirt, but it's not real noticeable.
 The birthday shirt! It turned out way better than I imagined, I'm so happy. I had a lot of different ideas for the applique, but I'm glad I went with a cupcake. Cute and easy!
 The best part? My little birthday girl loves her crown! Now I just have to get started on the few other things for the party. I have to make a tutu (or maybe just a matching skirt, haven't made up my mind yet), a matching reconstructed t-shirt dress for big Sis, the cupcake toppers, a matching bib, and possibly a birthday banner. I wasn't planning on going overboard, but I think I may have already passed that point lol!


